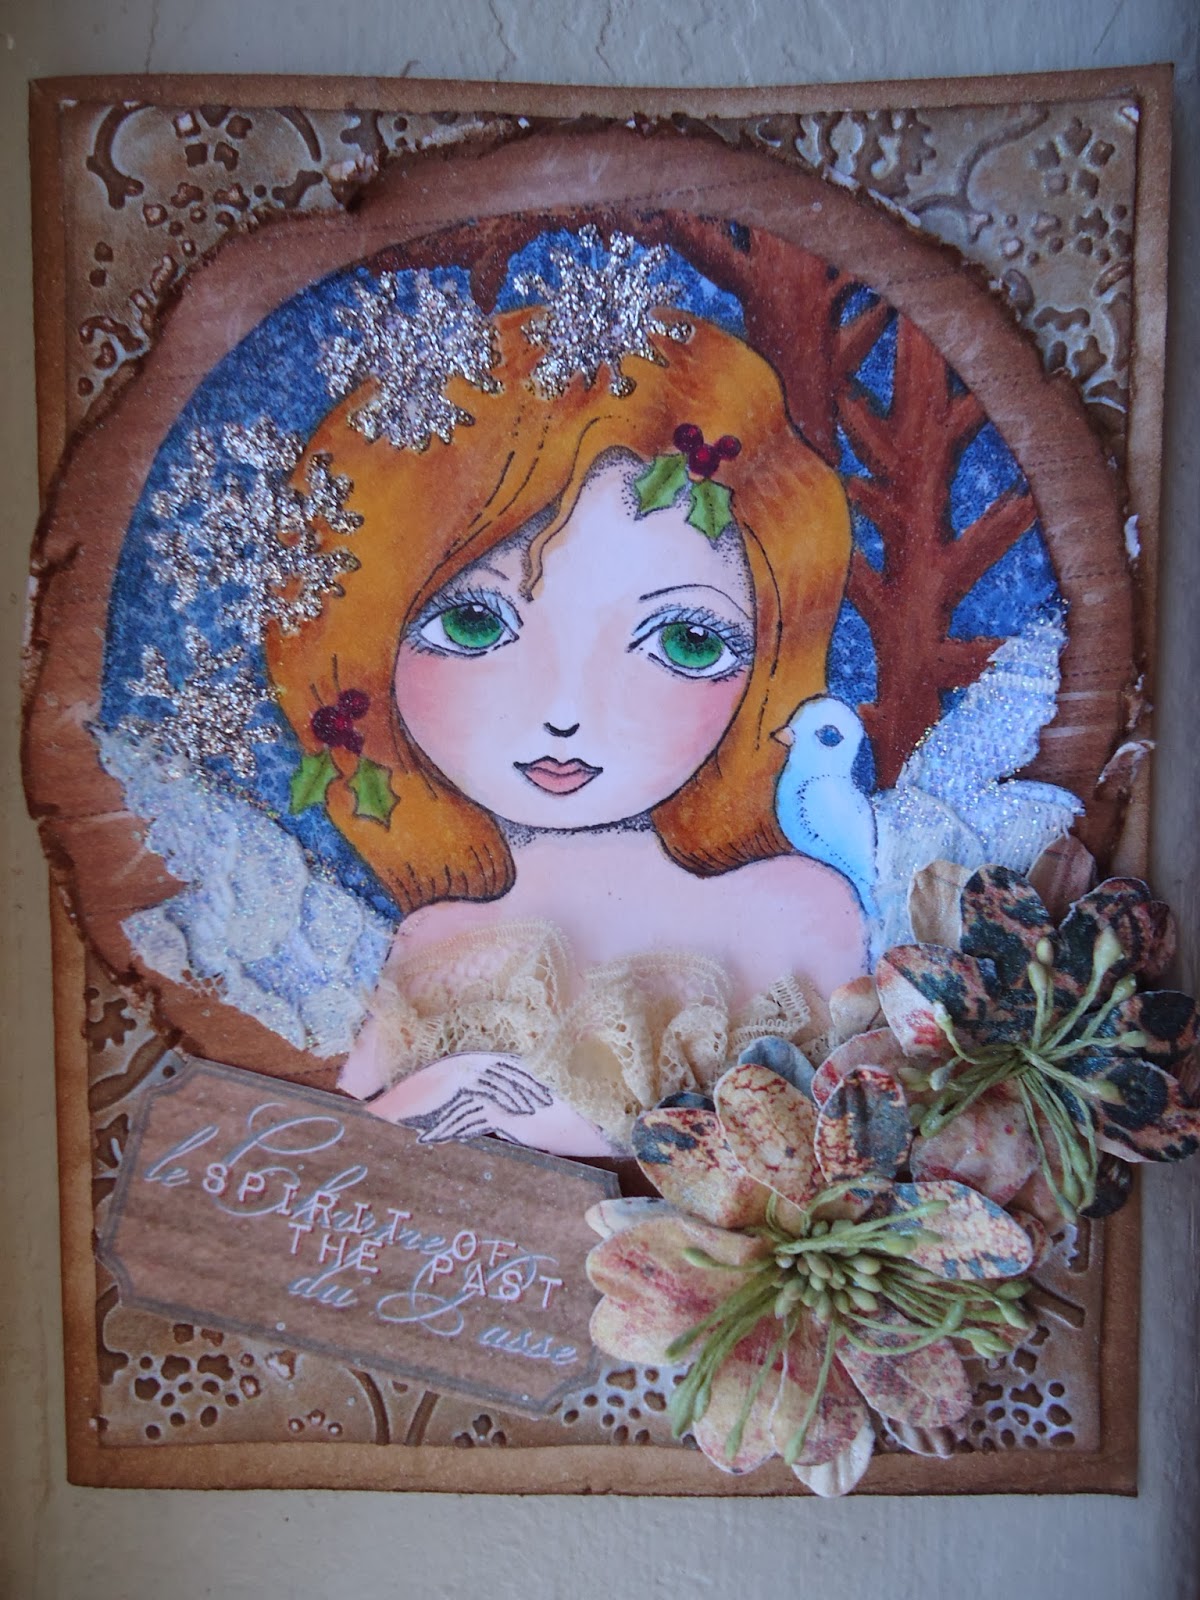
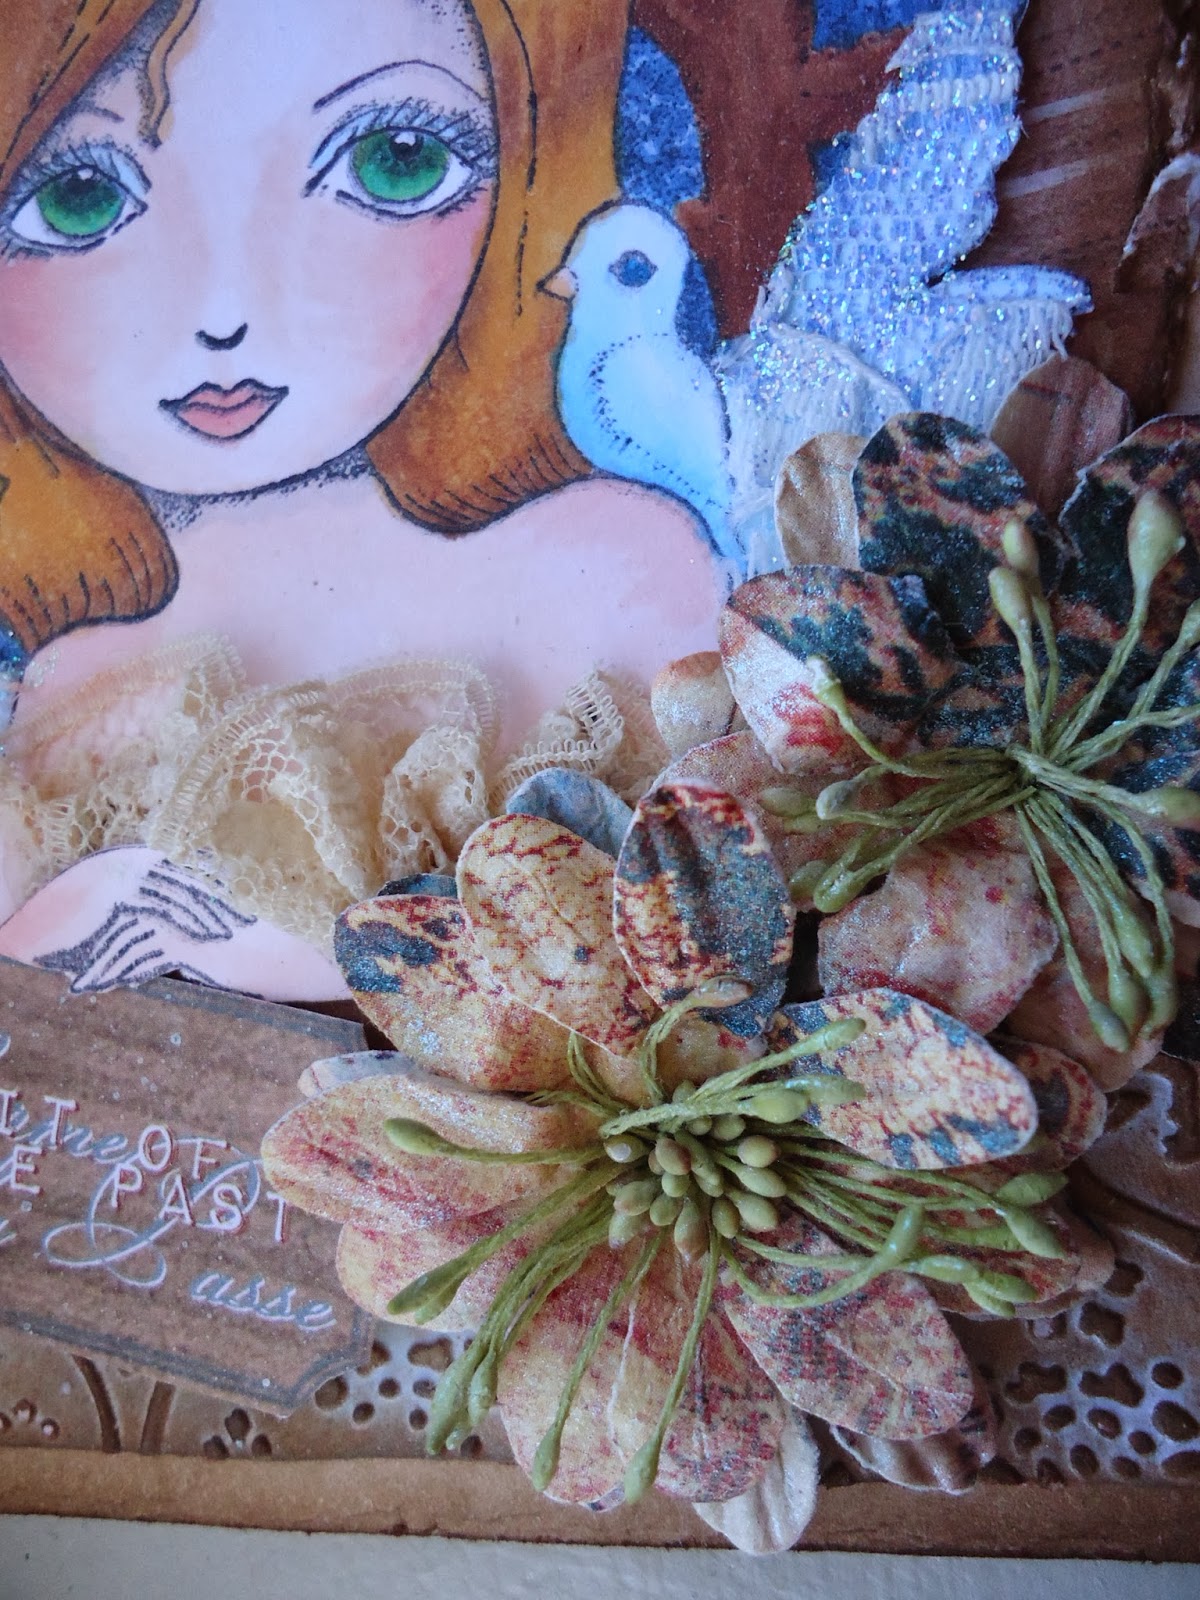
This vintage card was created using Elaine Cox's Christmas Bird set by Sweet Pea stamps. I thought it would be fun to make the wings and the dress out of lace. I demonstrate how on the video.
The trim has been alcohol inked to match the card, and there is a trailing vine cut from Cricut and various other embellishments.
Different papers and different bleaches react differently, so your results will vary depending on what you use. I find it easier to use paper that is a bit more smooth rather than textured paper. You also want to remember to work in a well-ventilated area and to protect your eyes, Especially if you are messy, remember not to wear your favorite clothes while doing it! :)
Thursday, July 18, 2013
Lori is on Youtube!
This tutorial features a fun sheet of steampunk stamps by artist Brigid Ashwood. I have used "Steam Bee" and the five gear stamps that come with the sheet. ( It also has a gorgeous s
I demonstrate how to create the distressed background as well as how I created the dimensional gears under the bee. The eyes were made using micro-beads with Glossy Accents and I colored them a little with a Copic marker for some contrast. (E29) The embossing folder used was Cuttlebug Clockworks, and the chipboard gears were cut from Gadget Gears by Tim Holtz Alterations (Sizzix). The seam binding was colored with Antique Linen and Vintage Photo Distress Inks. steampunk butterfly not on the tutorial).
I added some ribbon and a Tim Holtz Word band that says," possibility begins with imagination."
You can find the stamps at www.sweetpeastamps.com. It is sheet 4, plate 105 for the set or you can buy the bee separately.
Wednesday, February 20, 2013
Elena...Queen of Hearts
This was a Valentine's box I created for a long-time close friend who LOVES Vampire Diaries. Since she can't decide which is cuter, Damon or Stefen...I put both on for her. :P
It holds a giant chocolate bar...something you can really BITE!
I dripped Lindy's Stamp gang spray to look like blood, and painted Elena's gown with nail polish. The edges at the bottom have glasss bead gel with dazzling diamond glitter sprinkled over the top. Sadly, the picture does not show how sparkly it is at the bottom. The sentiment card hides in the side pocket.
Tuesday, February 19, 2013
My latest tutorial features a Sweet Pea Stamp called Angelic by Rachel Anderson. In the tutorial, I create the look and feel of sand using distress ink and glass bead gel. This is such a fun product to play around with! It can be found at your local art supply. The background of the image has been colored with a Copic airbrush- something I got for Christmas and love so far! :)
(please note: the only way to receive the extra
discount is through the link, it will take it off at checkout
The first time I saw this beautiful stamp by Connie Fong, I knew that I wanted to make the snow globe she was holding look even more realistic. It is called Angel of Christmas Stars and I had so much fun creating this! You would be amazed at what you can do with some Stickles and acetate!
In this video, Lori demonstrates how to create a multi-colored dimensional frame using ultra thick embossing enamel (UTEE), Vintage Photo Distress Inks, and nail polish. Now your nail polish can double as a crafting tool! :) The polish used was by OPI, called "Sit Under the Apple Tree." The card features a beautiful Sweet Pea stamp called "Glam Goth Fairy" by artist Caron Vinson. There is also a tutorial on how the texture and dimension was created on the fairy as well. So go grab your stamps and lets make something cute and crafty! :)


 This tutorial features a fun sheet of steampunk stamps by artist Brigid Ashwood. I have used "Steam Bee" and the five gear stamps that come with the sheet. ( It also has a gorgeous s
 I demonstrate how to create the distressed background as well as how I created the dimensional gears under the bee. The eyes were made using micro-beads with Glossy Accents and I colored them a little with a Copic marker for some contrast. (E29) The embossing folder used was Cuttlebug Clockworks, and the chipboard gears were cut from Gadget Gears by Tim Holtz Alterations (Sizzix). The seam binding was colored with Antique Linen and Vintage Photo Distress Inks. steampunk butterfly not on the tutorial).
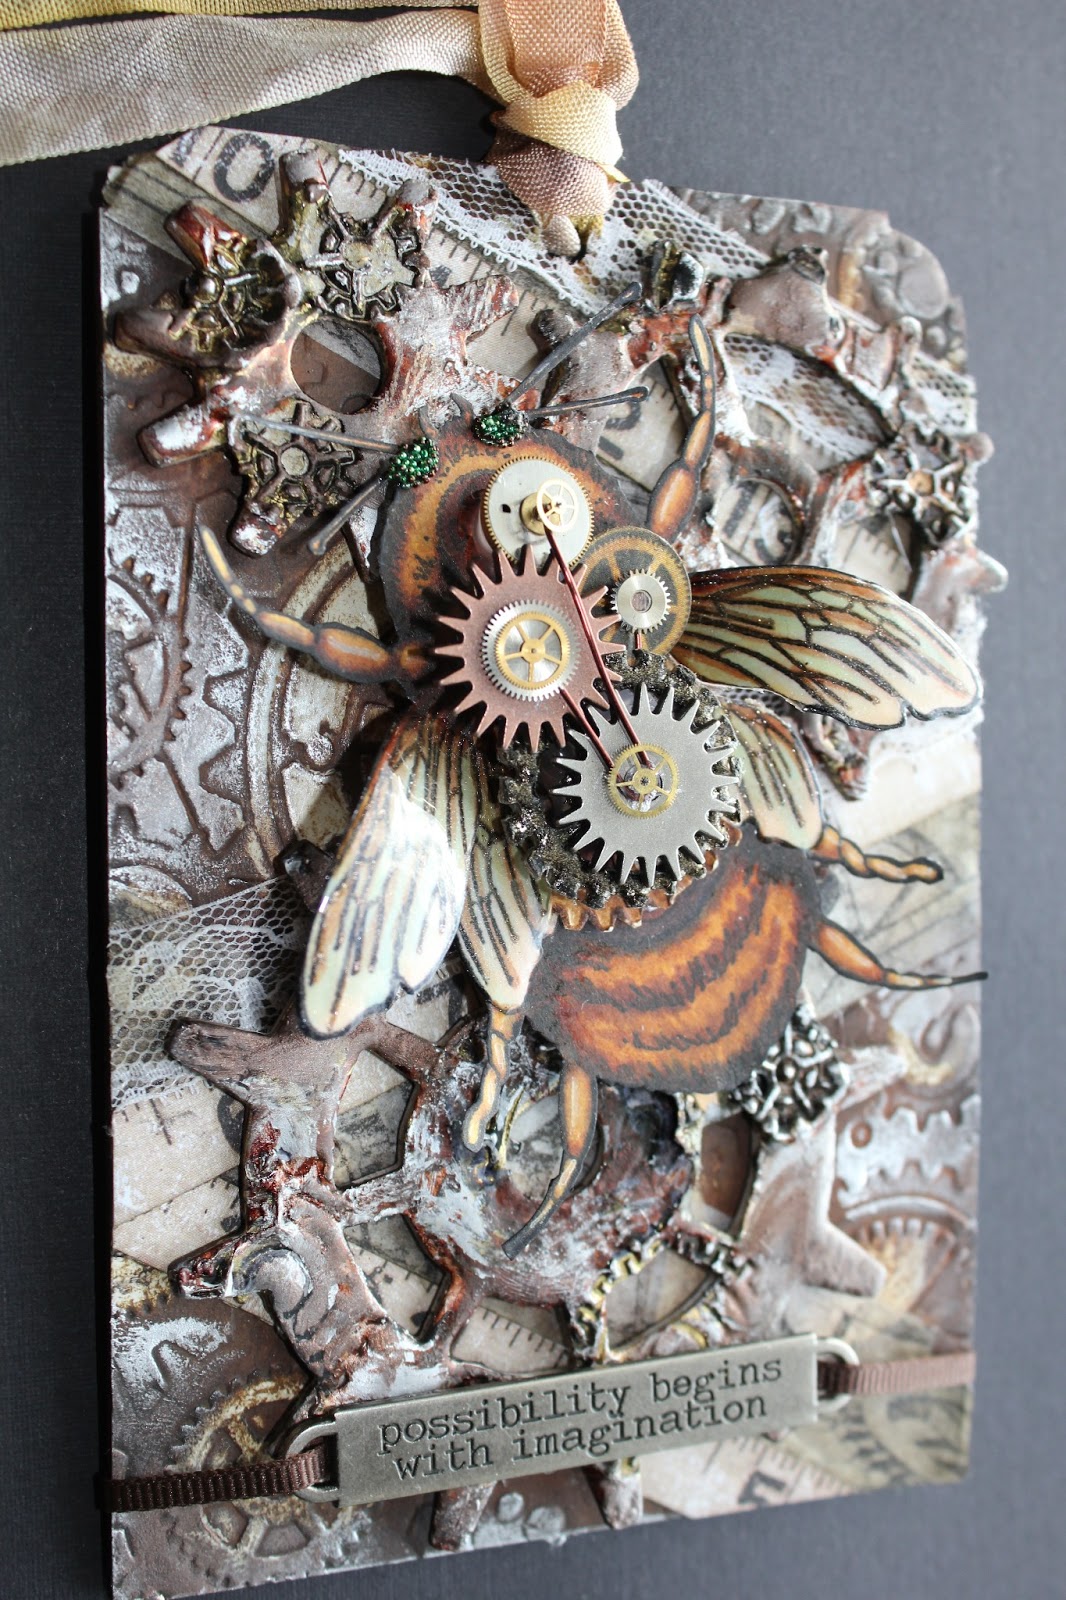


 Wings: B000, BG70, C3